
| Walk: | Cotegill Bridge, Mallerstang Valley, High Dolphinsty, The Nab, Wild Boar Fell, Yoadcomb Scar, Swarth Fell, Grisedale Common | ||
| Start Point: | Cotegill Bridge | Grid Ref: | SD 774 969 |
| Distance: | 11 miles | Ascent: | 1,900 feet |
| Weather: | A mild sunny day | ||
| Accompanied by: |
9 members of the group, led by Phil |
||
| Comments: | Setting off along the Mallerstang Valley we spotted a lamb that couldn't have been more than an hour or two old - the wonders of nature! Before we got too used to the relatively flat terrain we headed across the valley to climb to High Dolphinsty then along the ridge to The Nab. From here we walked across to Wild Boar Fell summit trig point before returning to the escarpment at Yoadcomb Scar where we stopped for lunch. We made a quick inspection of the cairns, similar to those on Nine Standards Rigg, before continuing on over Swarth Fell. A gradual descent took us down to Grisedale Common then back to the road and the cars. | ||
Scroll down to see photos of the walk
Wild Boar Fell from our starting point

New born!
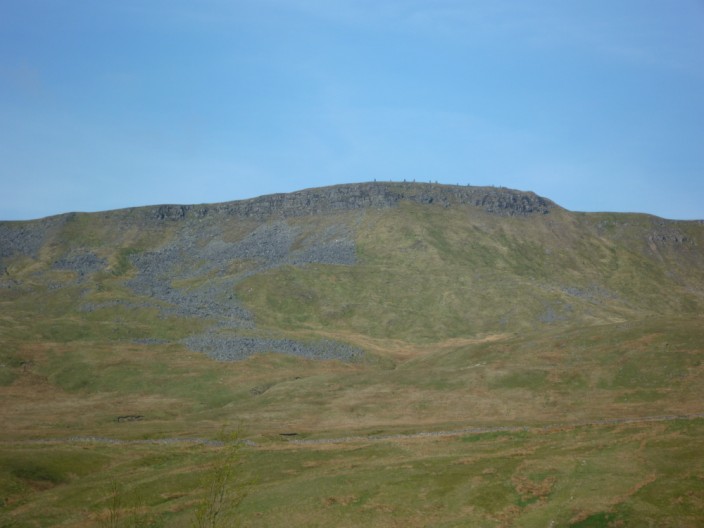
The cairns on Yoadcomb Scar are just visible

Time to take a layer off - beside the Settle to Carlisle line
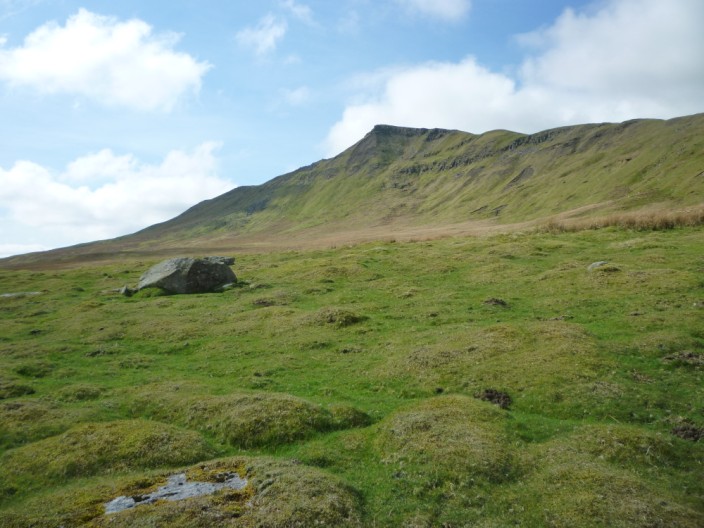
The Nab from our climb to High Dolphinsty . . .

and from higher up we can see across to the cairns . . .

on Yoadcomb Scar

Ray surveys the valley . . .

from The Nab

Wild Boar Fell Summit
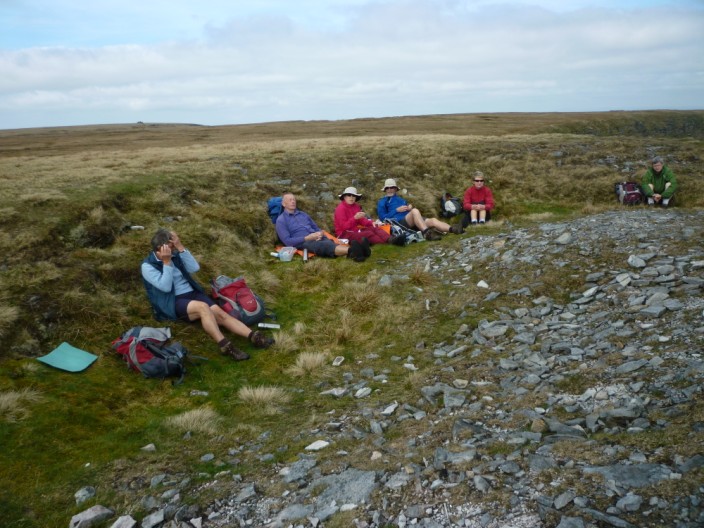
A sheltered spot for lunch . . .
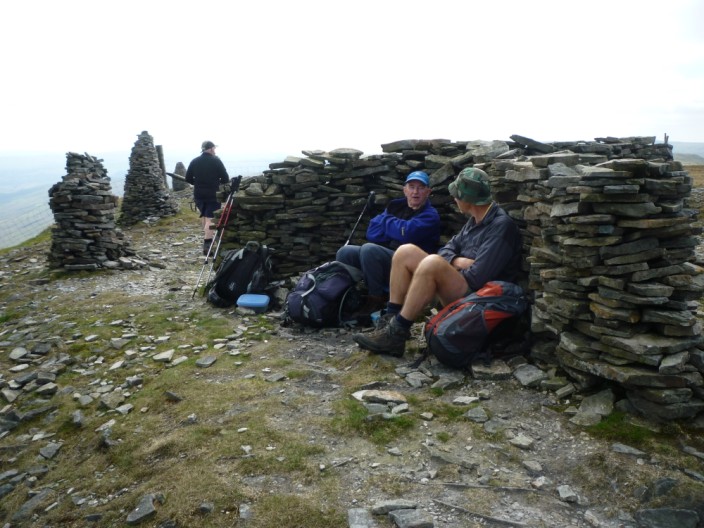
but those that chose the shelter of the wall . . .

enjoy the views down the Mallerstang Valley

Two minutes!

The Standards , , ,

but I don't think you can push it over Phil

A shelter for one!

Sheila enjoys the view from Swarth Fell
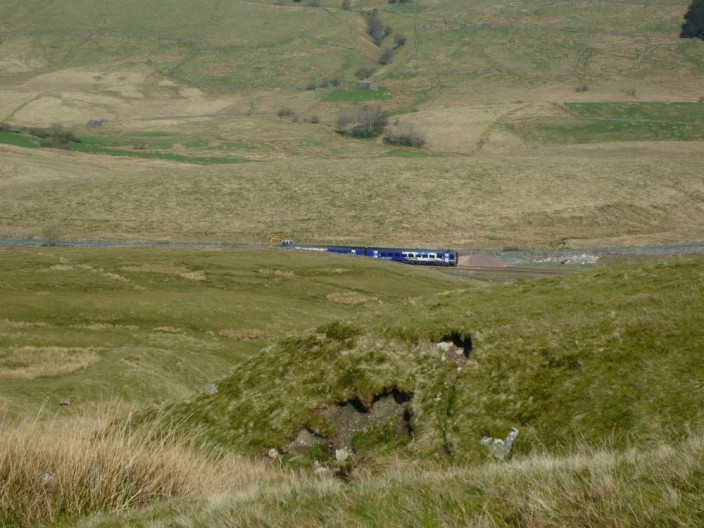
Heading down from Grisedale Common - a train makes its way past

Much of our route is in view ahead . . .

as we make our way past a ruined farm . . .

with an impressive tree . . .

which sports an equally impressive bird box . . .

but no-one seems to be at home
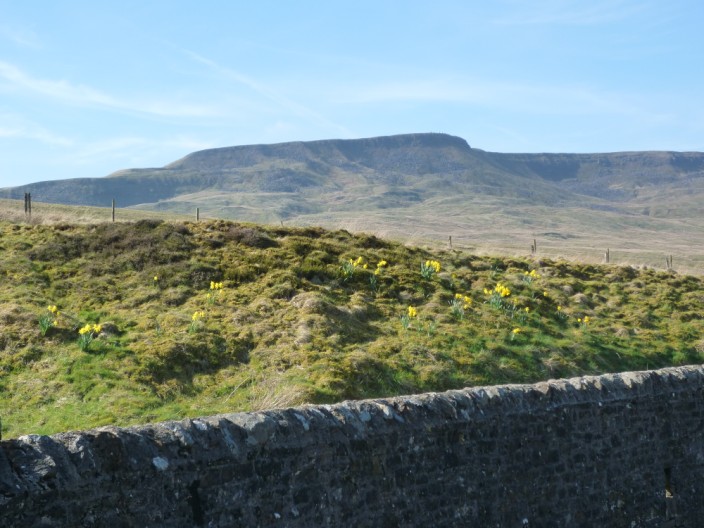
A final view of Wild Boar Fell from the car park